
In the world of home improvement, there comes a time when old structures must make way for new ones. Wooden decks, once cherished spots for outdoor relaxation and gatherings, can deteriorate over time due to weather, wear, and age. When the time comes to bid farewell to your ageing deck, it’s essential to approach its demolition and removal with careful planning and execution. In this guide, we’ll walk you through the steps for safely and efficiently wooden deck demolition and removal.
Preparation is Key
Before you start swinging a sledgehammer or firing up the chainsaw, take the time to prepare for the demolition process. Clear the area around the deck of any furniture, plants, or obstacles. Ensure that you have the necessary tools and safety equipment, including:
– Safety goggles
– Heavy-duty work gloves
– Sturdy work boots
– Ear protection
– Dust mask
– Pry bars
– Sledgehammer
– Reciprocating saw or circular saw
– Dumpster or disposal bags
Disconnect Utilities
If your deck has any electrical wiring or plumbing connections, make sure to disconnect them before starting the demolition. This step is crucial for safety and to avoid damage to utilities during the demolition process.
Remove Decking Boards
Begin the demolition process by removing the decking boards from the deck’s frame. Start at one end and work your way across, using a pry bar to lift the boards away from the joists. Depending on the condition of the boards, you may be able to salvage some for future projects or recycling.
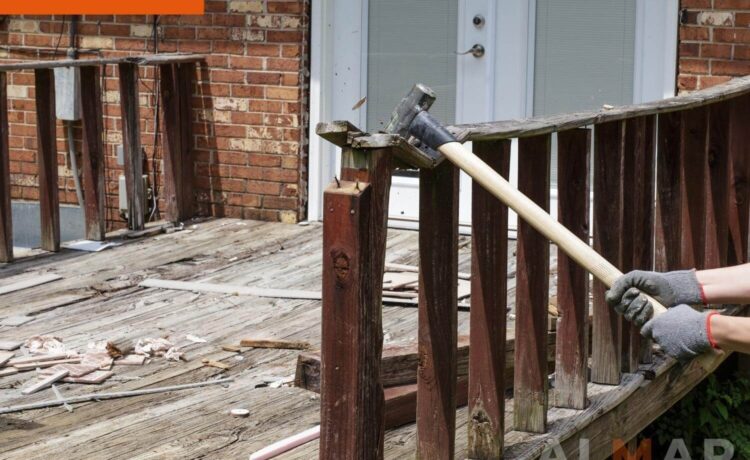
Disassemble Railings and Stairs
Once the decking boards are removed, focus on dismantling the railings and stairs. Use a pry bar and screwdriver to loosen and remove screws or nails securing these components to the deck’s frame. Take care to stack and store reusable materials for potential reuse or recycling.
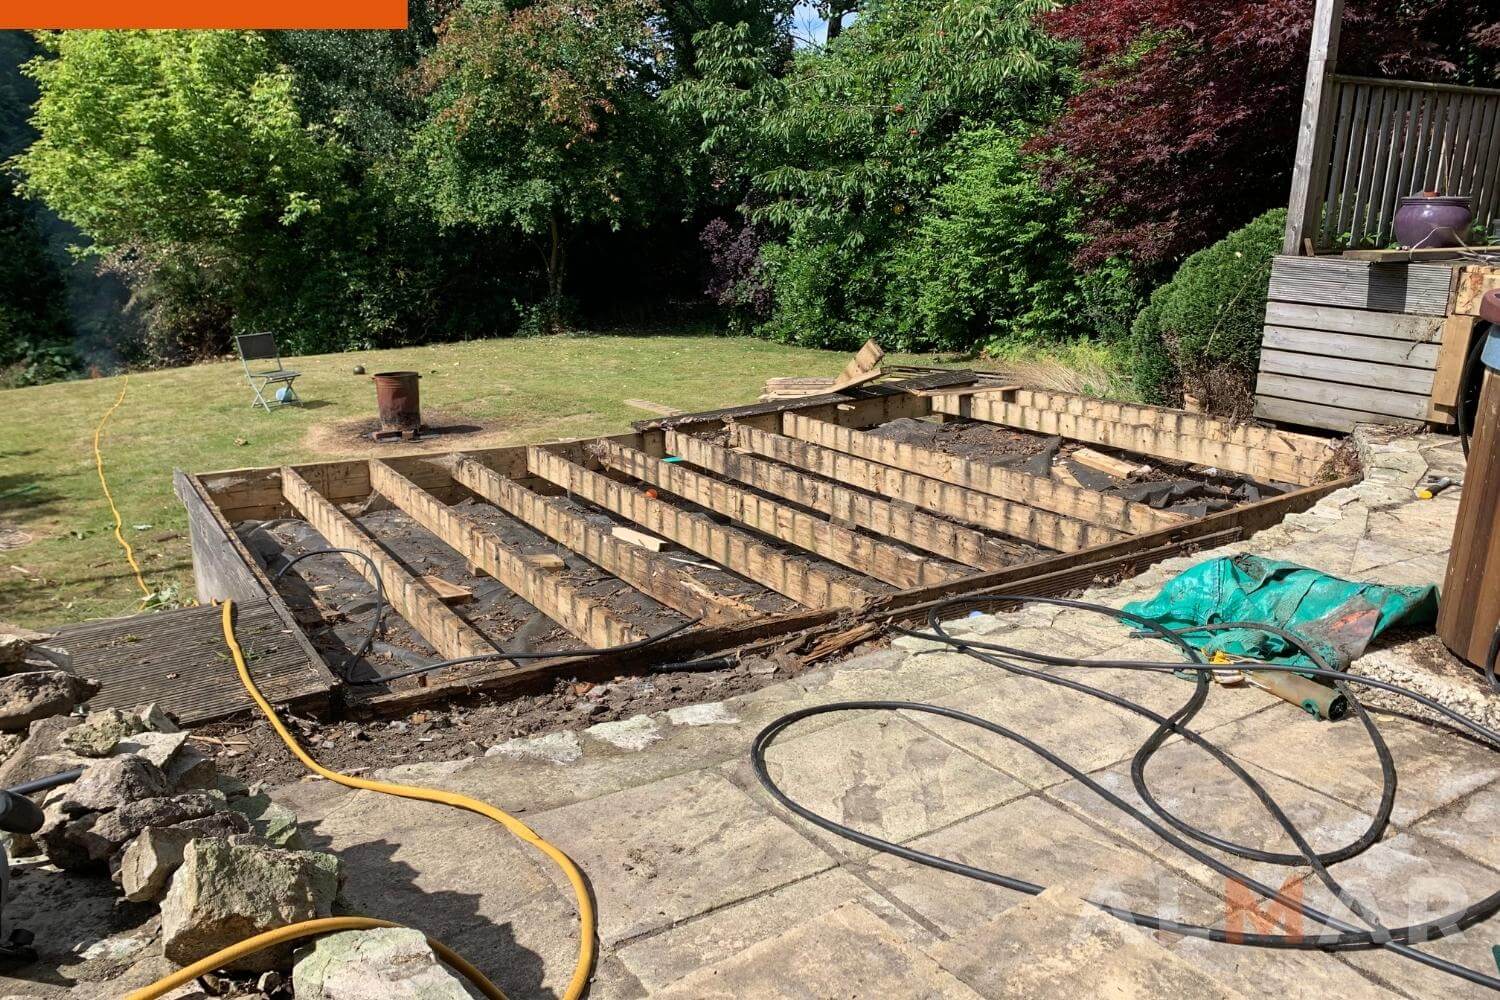
Assess the Deck Frame
With the decking, railings, and stairs removed, evaluate the condition of the deck frame. Look for signs of rot, termite damage, or structural instability. If the frame is compromised, it may need to be reinforced or replaced entirely.
Demolish the Deck Frame
Using a combination of a sledgehammer and reciprocating saw or circular saw, begin demolishing the deck frame. Start with the posts and work your way down to the joists and beams. Exercise caution to avoid injury and damage to surrounding structures.
Dispose of Debris Responsibly
As you demolish the deck, pile the debris in a designated area for disposal. Rent a dumpster or arrange for a waste removal service to haul away the debris once the demolition is complete. Alternatively, you can cut the debris into smaller pieces and bag them for curbside pickup or transport to a local landfill or recycling center.
Restore the Area
Once the deck is completely removed and the debris cleared away, take the time to restore the area to its original condition. Fill in any holes or depressions left by the deck’s footings and level the ground as needed. Consider planting grass or installing landscaping features to enhance the area’s appearance.
Consider Reusing or Recycling Materials
Before disposing of the old deck materials, consider whether any of them can be salvaged for reuse or recycling. For example, treated lumber can often be recycled into mulch or composite decking material. Check with local recycling centres or building material reuse organizations to explore your options.
Plan for the Future
With the old deck removed, you now have a blank canvas to create a new outdoor space that meets your needs and preferences. Whether you’re planning to build a new deck, patio, or garden area, take the time to carefully design and plan the project to ensure its success.
Conclusion:
In conclusion, wooden deck demolition and removal requires careful planning, preparation, and execution to ensure safety and efficiency. By following the steps outlined in this guide, you can tackle the task with confidence and transform your outdoor space for years to come. Remember to prioritize safety, responsible disposal of materials, and consideration for future projects as you embark on this exciting home improvement journey.


